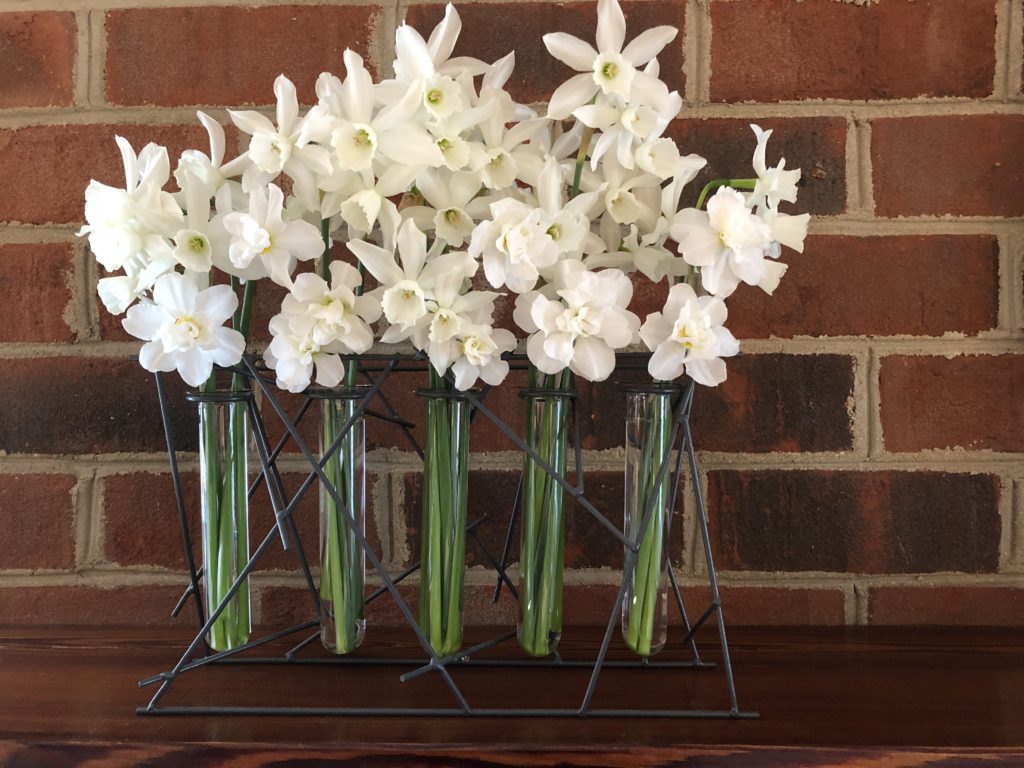
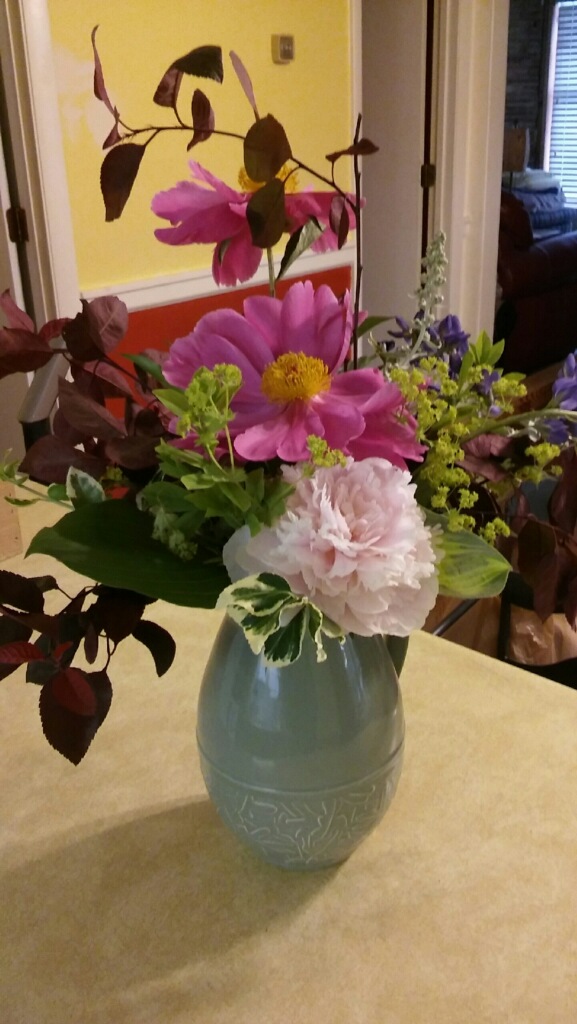
Lauren T. has created this outstanding arrangement for us! Enjoy!
Lauren T. has created this outstanding arrangement for us! Enjoy!
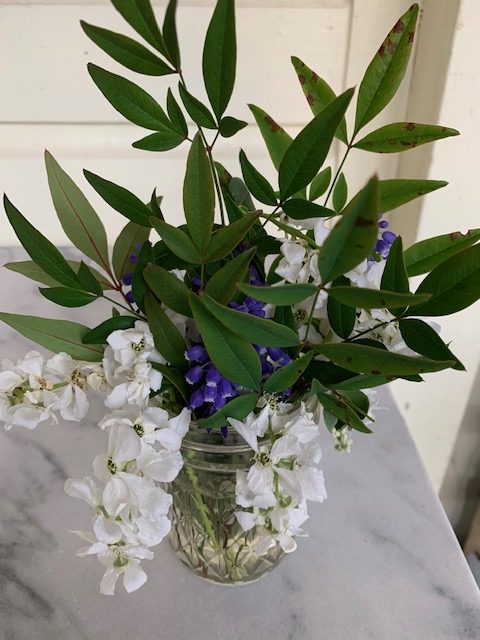
Nothing brightens a rainy day like flowers and flower arrangements! Small or large, pots of posies, and blossoms in beds make you smile, and soothe the soul. Here are a few more from my “floral friends.”
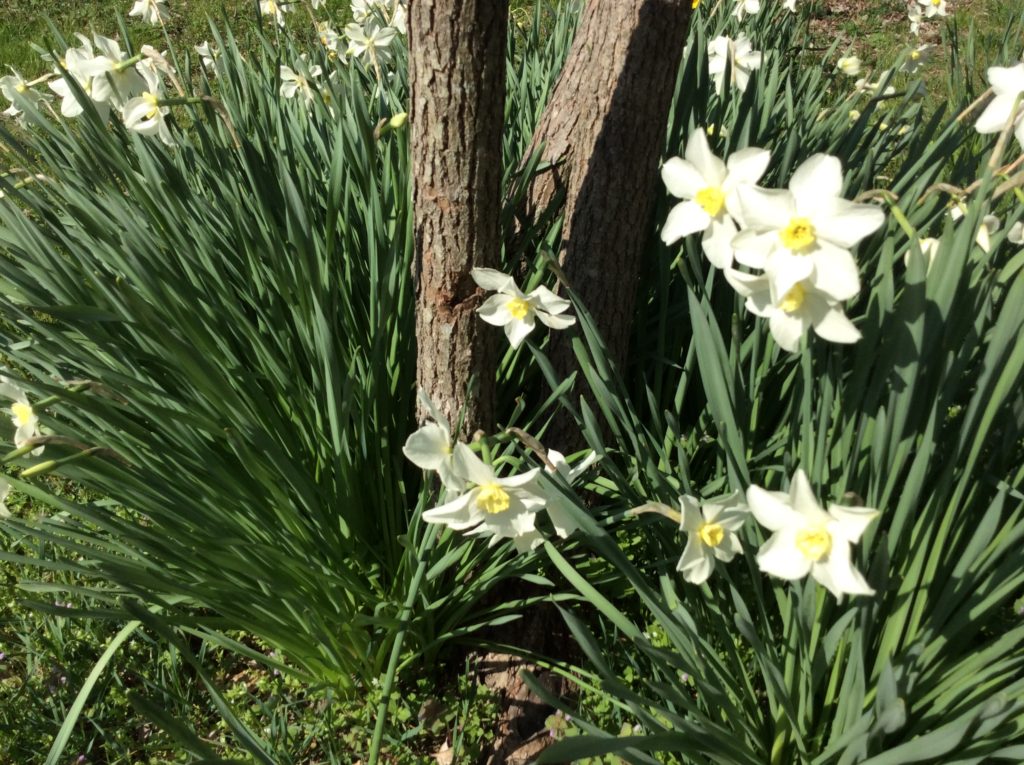
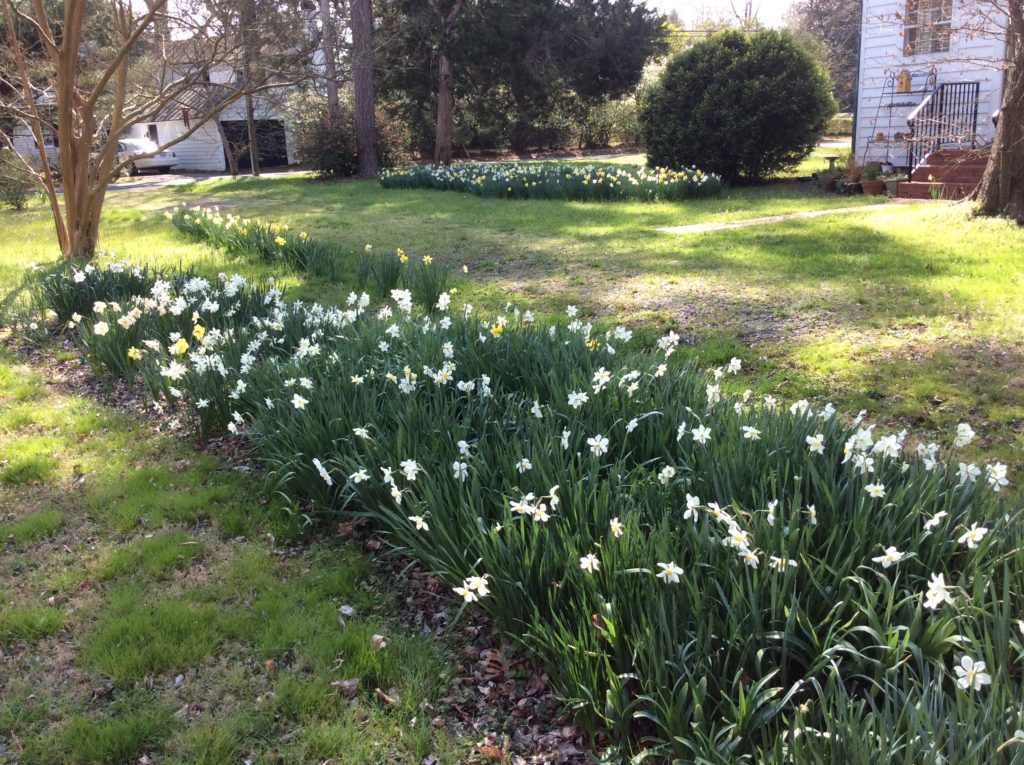
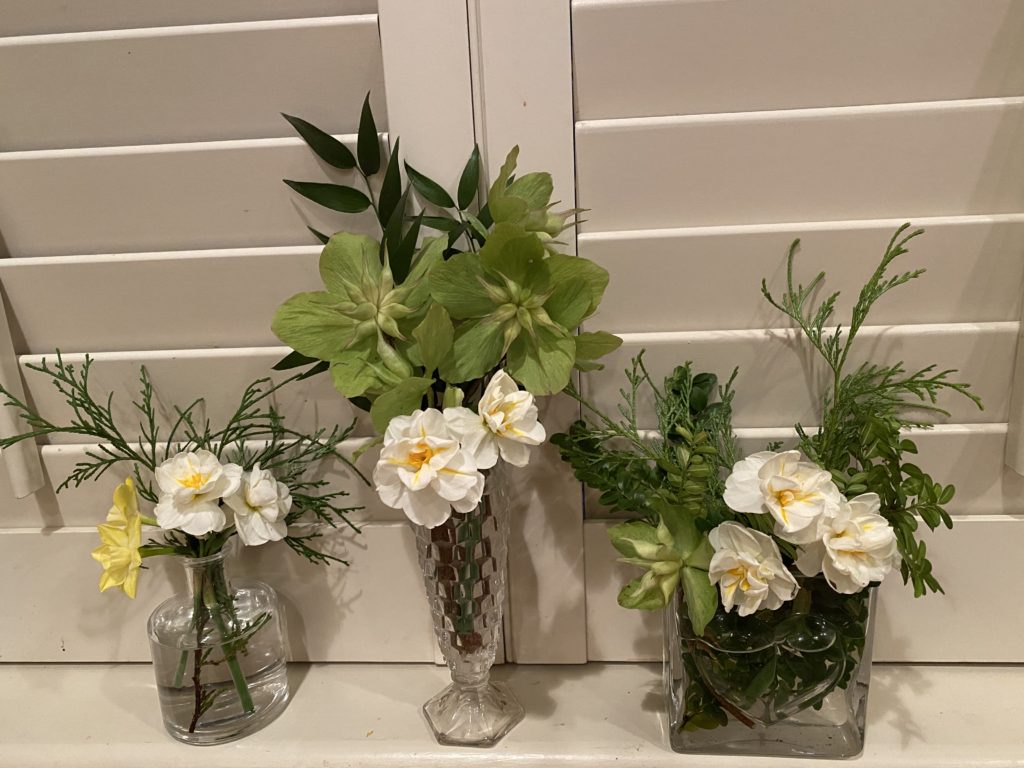
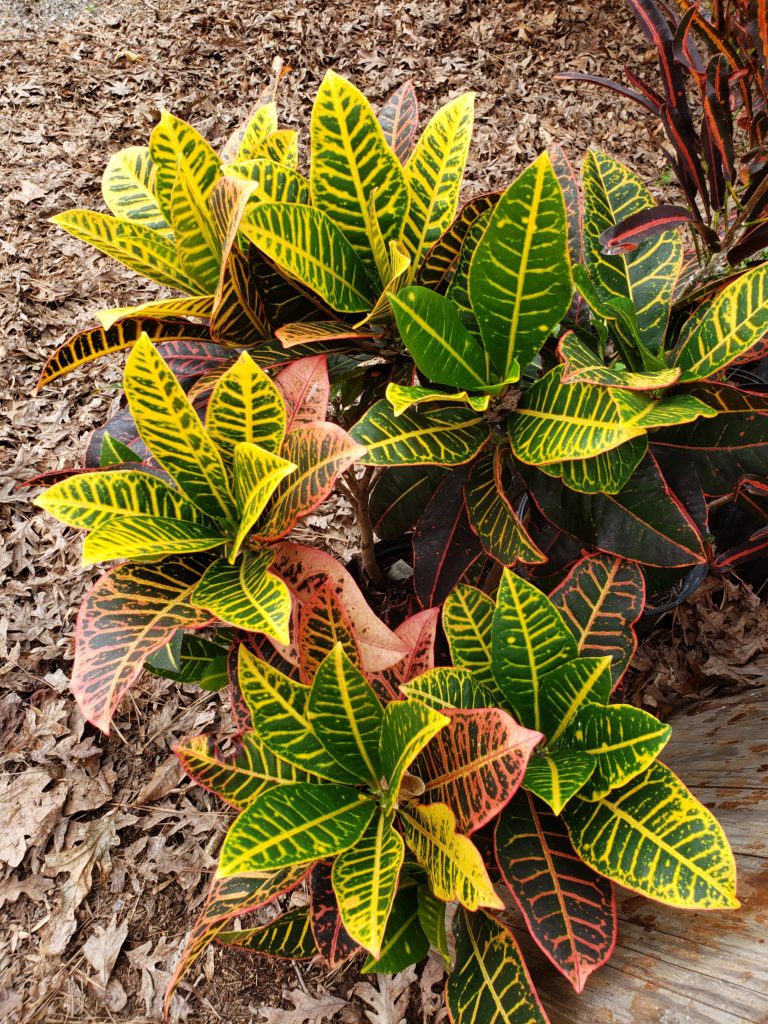
More green beauties and flowers to share! We have some gorgeous Horticulture and some frothy, festive flowers, too!
Thank YOU!!!
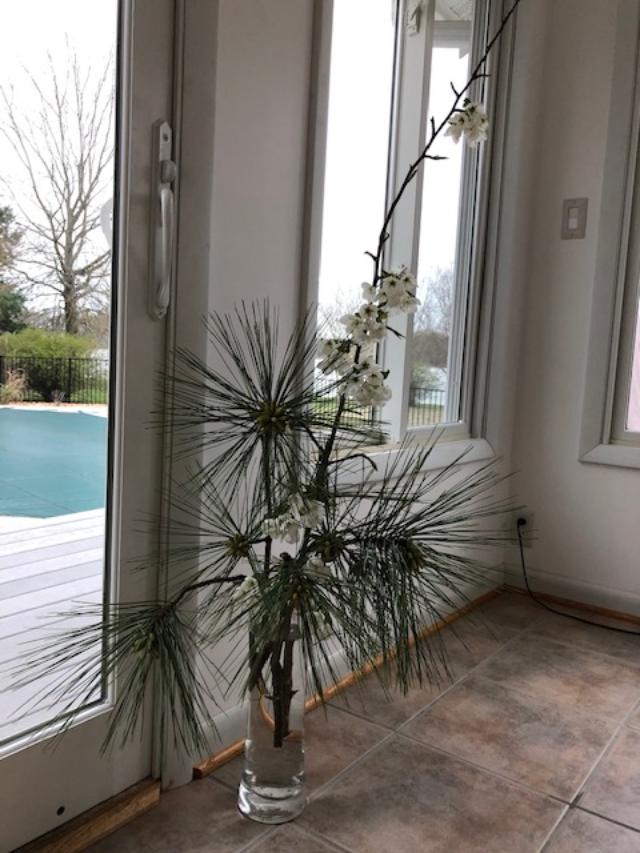
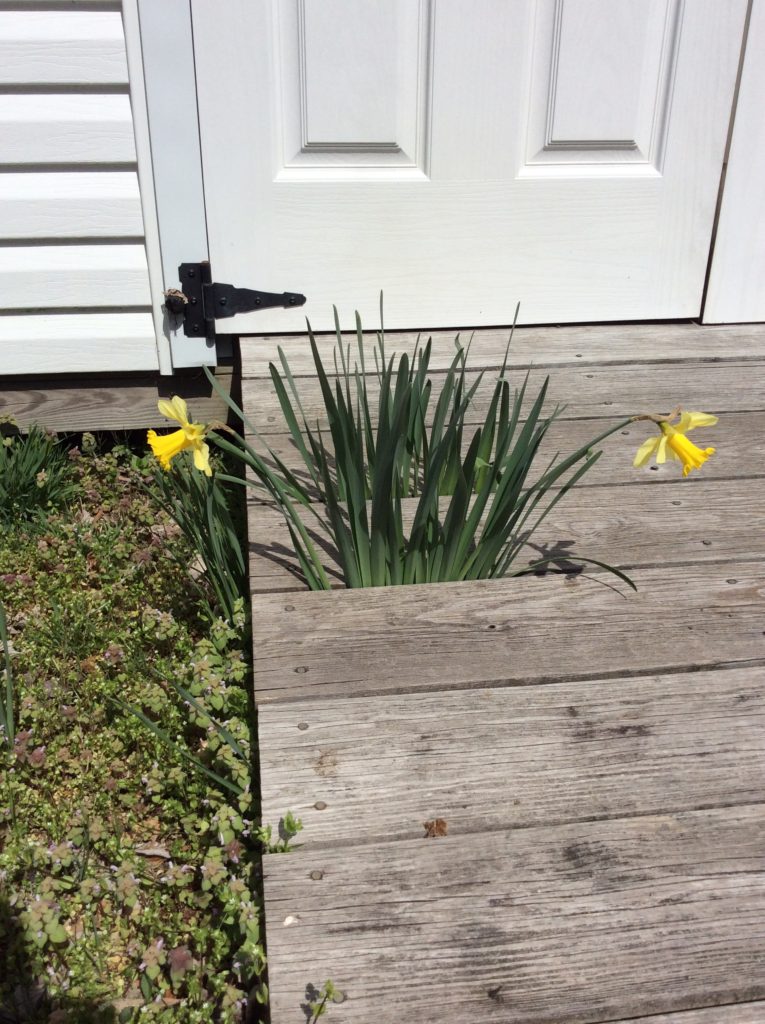
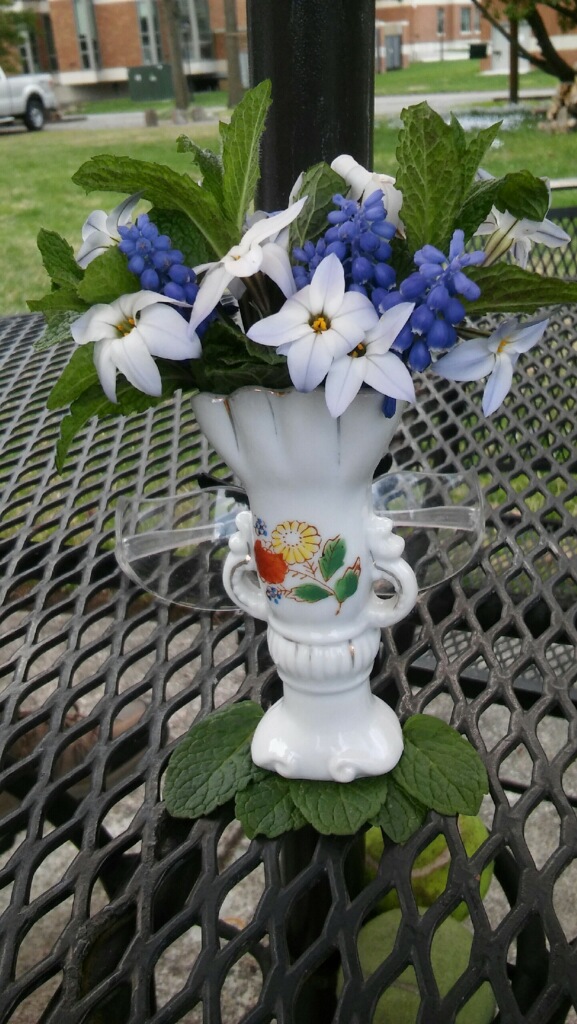
While we may be confined, Nature Abounds! Spring is truly “Springing.” If nothing else, Mother Nature provides a little mood-lifter in the forms of budding leaves and flowers, as they peek out from garden beds! My friend, Anne, is constantly creating exquisite tiny arrangements that just make you smile. I am going to share a few, and invite you to send me pictures of your own floral “festives!”
Enjoy and share with your friends! Thank you! My email is: edrsbick@gmail.com.
SHINE A LITTLE LIGHT…..
I think it’s a pretty safe bet to say that the unadorned lightbulb, hanging from the ceiling casting harsh light is not a pretty picture. Memorable and stark, maybe, but not beautiful. We all want to suffuse our rooms with gracious lighting, but, lamps are expensive. There’s no doubt about it. Even when you go to purchase a light fixture at a discount store you can plunk down a lot of jingle. The one possible exception can be Goodwill or the Salvation Army, but, it’s often hard to find something that you want.
So, I have forayed into the “Land of Lighting” and stopped at the nexus of “self-reliance” to figure out and EASY and inexpensive way to make my own lamp.
I’m emphasizing EASY because I went in search of an attractive vessel that has a hole on both ends — because otherwise I would have to hollow out the middle from top to bottom. I can do that, but, BABY STEPS….
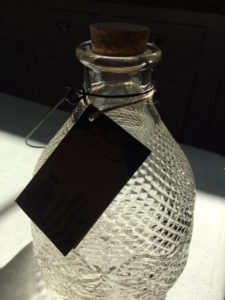
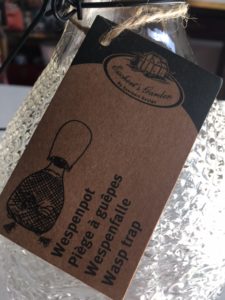
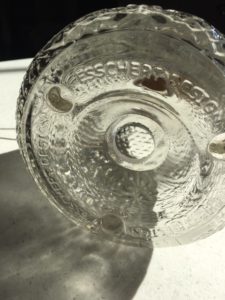
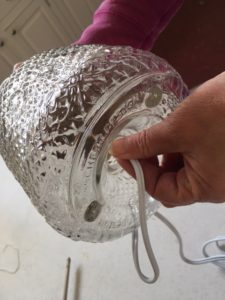
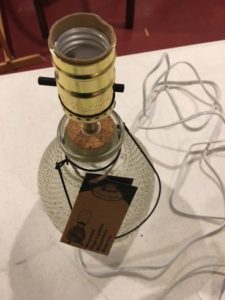
So, I found this glass wasp trap with a cork at the top. It’s PERFECT for a lamp! It’s a nice size, nice shape, has a hole in the bottom and has “feet” which lift it up from the surface. This is important because otherwise I would have had to make base or some other accommodation for the cord.
Other ideas that I entertained were:
Vases
Flower Pots
Piggy Banks
Baskets (if the weave is large enough, you could slip the cord through…)
Wine Bottles (although you’d have to drill a hole through the glass)
But this wasp trap is a great place to start!
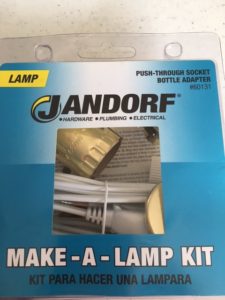
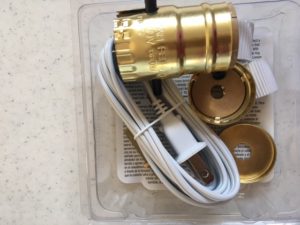
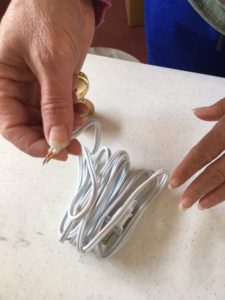
Next, I went to my local ACE Hardware and purchased this lamp kit. I was THRILLED! They have done the heavy lifting for me! It really is sort of “Plug and Play.”
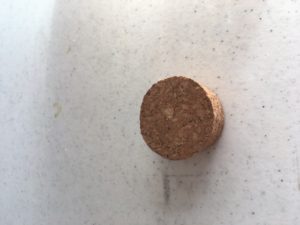
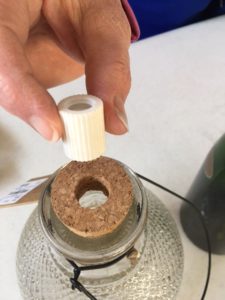
The cork in the opening of the wasp trap comes out easily and makes an excellent “base” for the neck of the lamp.
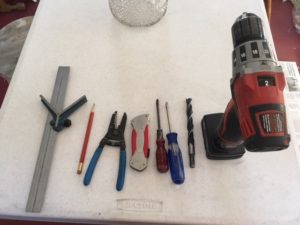
Here are the tools that I used:
A ruler
Pencil
Pliers
Knife
Philips head screwdriver
Regular screwdriver
Drill
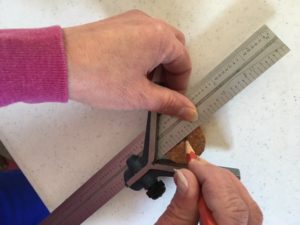
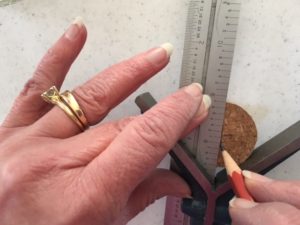
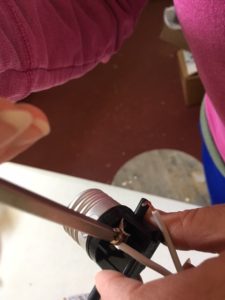
Use the ruler to find the center of the cork.
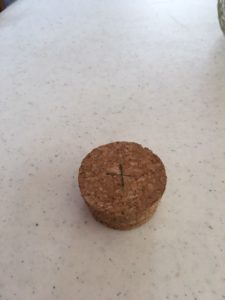
Open the lamp kit and find the post that will fit into the cork. Drill a hole a hole into the cork that will accommodate the post.
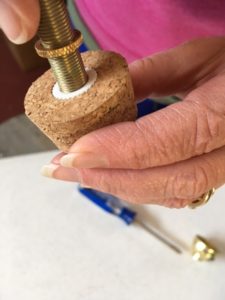
Put the post into the cork.
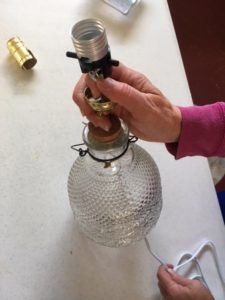
Put the neck into post, using the washer (found in the kit) to set the height of the neck.
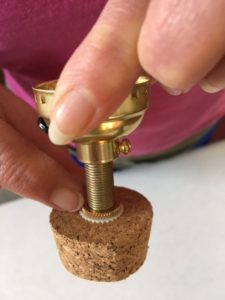
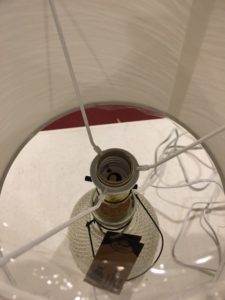
Screw in the socket.
Take the cord and
put it up through the hole in the bottom of the vessel.
Pull it up through the neck of the lamp.
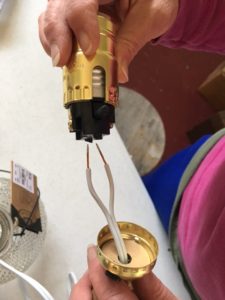
Pull the cord apart, so that it you have two wires.
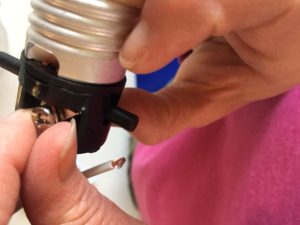
Wrap the wire around the screws on either side of the socket – going clockwise.
Using the Philips Head Screwdriver, tighten them firmly (but don’t overtighten) going clockwise.
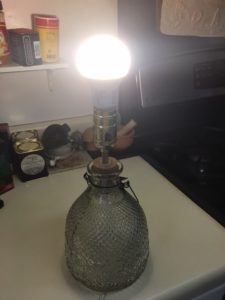
Put the cap onto the socket. It will “click” in.
Screw in the light bulb and you have MAGIC!!!!
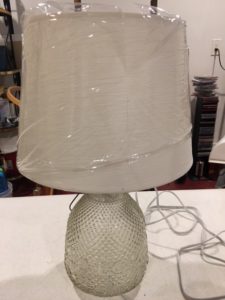
Shades….Another story!
I did a little research and basically, you should match the shape of the shade to the shape of the base. And, in terms of sizing, your shade should be about 2/3 the size of your base. The shade that I chose might be a little big, for the base, but, I still think it looks nice with the patterned glass.
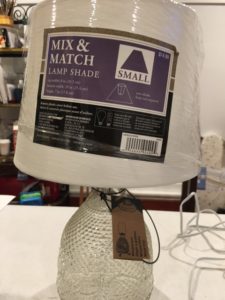
When it came to attaching the shade, I opted for EASY again. This shade, which I purchased at Bed, Bath and Beyond, just screws onto the socket. Easy Peasy, Lemon-Squeezy!
Eh-VOILA!!! LET THERE BE LIGHT!!!