Vintage clothes, antique hats, old fashioned frippery, they can all be so chic, so stylish, so hip and so dirty! Stains and smells easily ruin the look and contaminate cachet.
What do you do with those gorgeous gowns or prestigious purses bedazzled with beads, especially if you are working on a budget or don’t have access to tailors or others who are used to working with antique fabrics.
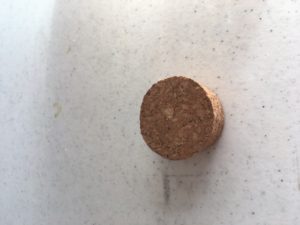
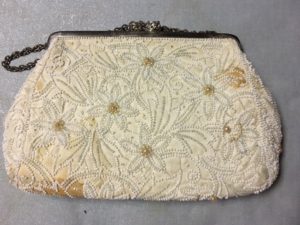
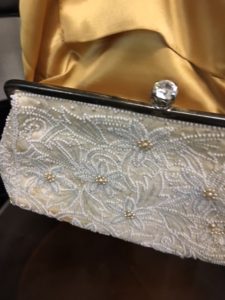
In the course of wading through my mother’s things, I found a beautifully beaded evening purse that I just couldn’t give to Goodwill or a local Theatre group or throw away. It is awfully pretty and awfully stained.
First, I tried using a stain remover, something guaranteed to remove any discoloration, but it just did not work (for me at least). In fairness, that purse is old and the stain is probably almost as ancient. So, getting it out might be a fools errand, so to speak. I might do more damage to the bag if I bleached it. So, if that’s the case …. why not just go with it and try covering up the stains with a new stain?
A few years ago I learned about tea-staining linens from a lady who I knew. She had a real flair for decorating and mentioned that she often dipped clothing and towels into tea to achieve a certain effect. So, I tried her idea and dyed a dust ruffle by soaking it in a big bucket of hot tea. It occurred to me that I could accomplish the same thing with this little evening purse.
Using tea is a simple, affordable and easily accomplished solution, so I decided to give it a go. In essence the purse became an extra large tea bag!
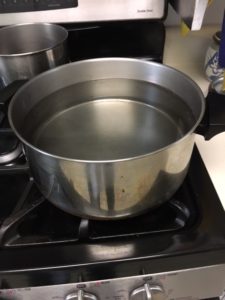
Start with a large pot of water …….
 and, bring it to a boil…..
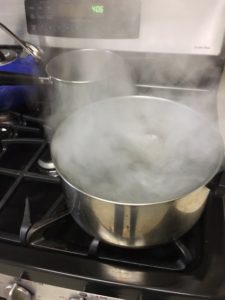
Add a Tea Bag 
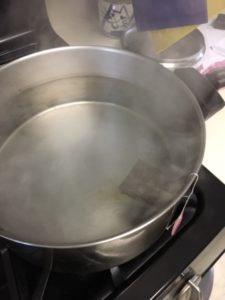
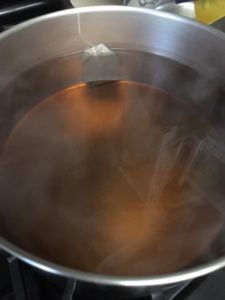 Let it steep.
 Pull lining out of the purse.
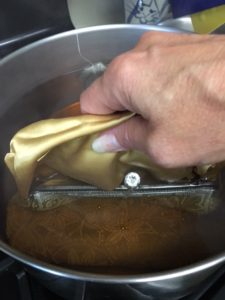
Lower purse into hot tea and let it steep for an hour or more. Remove and let dry.
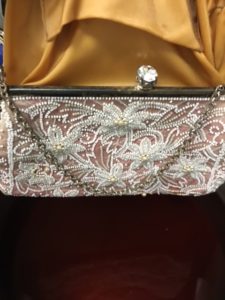
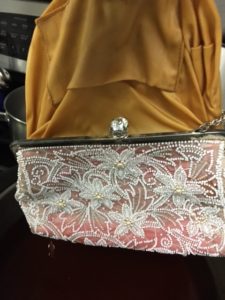
It sports a new shade of chic-ness! Let this dry for a day or more….And, Mama’s got a brand new bag!