fbpx
Categories
Culture History Inspiration Museums Realizing Your Dream Stories Uncategorized Vintage

Making a Museum: Establishing A Collection-This one is focused on Everyday Life


What does it take to start a museum? What is the impetus? What do you want to say or explore? Is there a topic upon which you want to expound, examining its’ multitudinous dimensions? Are there stories that highlight a specific theme that you want to tell? Do you want to preserve specific memories?  These are the driving forces behind establishing a collection/museum.

In the first of this several-part-series that focuses on creating displays that cause conversation, I’m going to cite the Museum of Everyday Life in Glover, Vermont.  Charmingly situated on the edge of the road, on the shores of a small pond (where, one of my compatriots, told me, a large set of plastic shark’s teeth used to jut out of the water, evoking JAWS!), this old barn beckons you to ENTER!

According to the Museum’s website, the Museum

“…is an ongoing  revolutionary museum experiment based in Glover, Vermont. Its mission is a heroic, slow-motion cataloguing of the quotidian–a detailed, theatrical expression of gratitude and love for the minuscule and unglamorous experience of daily life in all its forms. We celebrate mundanity, and the mysterious delight embedded in the banal but beloved objects we touch everyday.”

And, true to their mission, the Philosophers who staff, curate and direct this most un-stuffy and unusual exhibition have collected quotidiana that defies definition.  In fact, as their First Manifesto states:

“The Museum of Everyday Life is proud to launch its mission of glorious obscurity.”
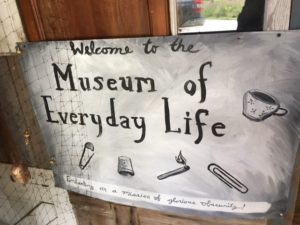
 

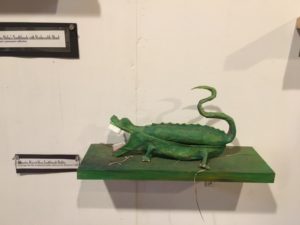
While, mostly, the objects on display underscore our desire to grace the very ordinary with a little bit of life, the staff is also interested in discussing why we need these items.  For instance, toothbrushes are one category of household necessities is well-represented.  The Philosophers ascribe the need for the humble toothbrush to our interest in foods, particularly sugary ones, vis-a-vis our equally strong interest in preventing tooth decay.  One of the most eye-catching dental devices on display is a “His and Her Toothbrush,” an alligator  who comes apart. The chopper cleaner that was crafted by Katherine Nook is brightly colored and sure does bring a smile.  It makes you wonder why she didn’t make more of them!
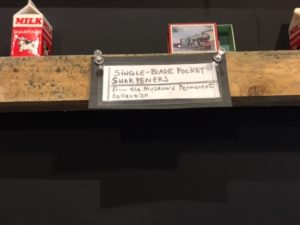


Pencil Sharpeners


This is fabulous pencil art!

A history and homage to The Match is another amazing exhibition. A matchstick rollercoaster,  working instruments made of matches, the story of Prometheus and a giant match are some of the objects that kindle the imagination with their luminescent wit!
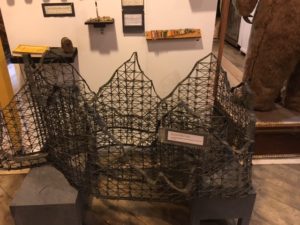
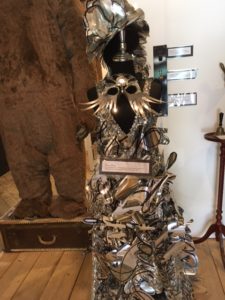


This stunning beauty is made of all things metal — and she sure does shine!

Significant collections of safety pins, keys and locks explore humanity’s needs to hold things together and keep them locked up.  Clare Dolan, Chief Operating Philosopher, together with her Co-Philosophers, have amassed amazing arrays of these pins, locks and keys and explore their uses with depth and wit. 

When it comes down to it, the Museum of Everyday Life provokes discussion about how we live by taking a gander at some of the material culture that comprise our day to day existence. I like what Clare Dolan said in a Vermont Public Radio interview, and I’m paraphrasing here, that she hopes this will inspire others to start their own museums featuring their own stories!

For an online tour of the Museum, and, lot of interesting information about its’ history, programs and current exhibitions check out their website http://museumofeverydaylife.org/.

They also have a cool Facebook page.  And, speaking of similar concepts, check out the Museum of Everyday Life in Iceland: Hversdagssafn – museum of everyday life.


Categories
DIY Fashion Home Projects Uncategorized Vintage

Mama’s Got A Brand New Bag!

Vintage clothes, antique hats, old fashioned frippery, they can all be so chic, so stylish, so hip and so dirty! Stains and smells easily ruin the look and contaminate cachet.

What do you do with those gorgeous gowns or prestigious purses bedazzled with beads, especially if you are working on a budget or don’t have access to tailors or others who are used to working with antique fabrics.

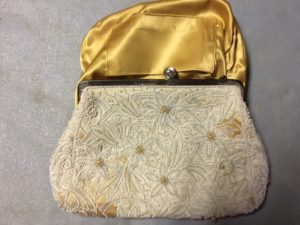
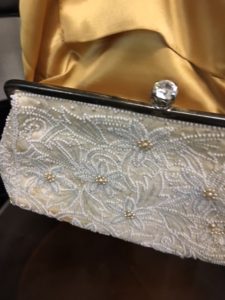
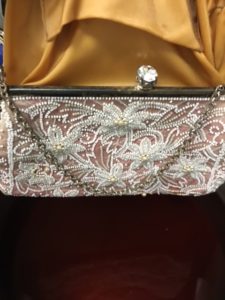
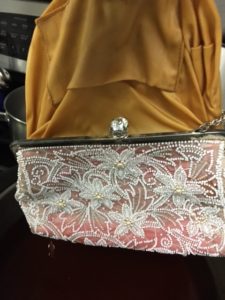
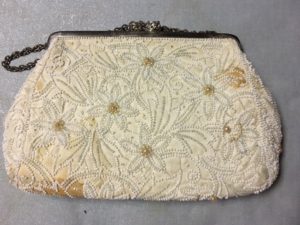
In the course of wading through my mother’s things, I found a beautifully beaded evening purse that I just couldn’t give to Goodwill or a local Theatre group or throw away. It is awfully pretty and awfully stained.

First, I tried using a stain remover, something guaranteed to remove any discoloration, but it just did not work (for me at least). In fairness, that purse is old and the stain is probably almost as ancient. So, getting it out might be a fools errand, so to speak.  I might do more damage to the bag if I bleached it. So, if that’s the case …. why not just go with it and try covering up the stains with a new stain?

A few years ago I learned about tea-staining linens from a lady who I knew.  She had a real flair for decorating and mentioned that she often dipped clothing and towels into tea to achieve a certain effect. So, I tried her idea and dyed a dust ruffle by soaking it in a big bucket of hot tea. It occurred to me that I could accomplish the same thing with this little evening purse.

Using tea is a simple, affordable and easily accomplished solution, so I decided to give it a go.  In essence the purse became an extra large tea bag!

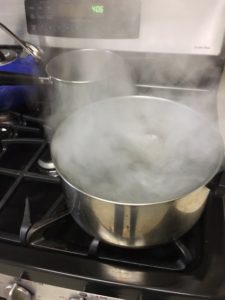
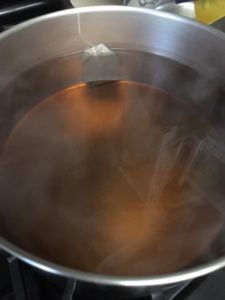
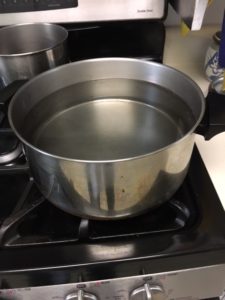
Start with a large pot of water …….

  and, bring it to a boil…..                                                                                                                   

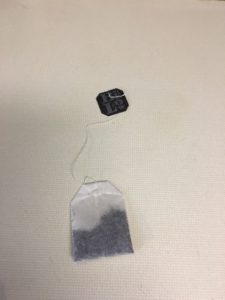
Add a Tea Bag         

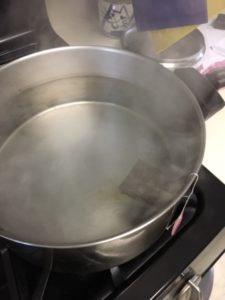
      Let it steep.

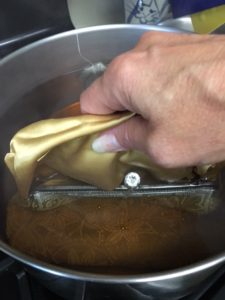
Pull lining out of the purse.
 

Lower purse into hot tea and let it steep for an hour or more.  Remove and let dry.


It sports a new shade of chic-ness!  Let this dry for a day or more….And, Mama’s got a brand new bag!


Categories
DIY Home Decor Home Projects Lighting Uncategorized

Light Up Your Life, or, At Least Light Up Your Room!


SHINE A LITTLE LIGHT…..

I think it’s a pretty safe bet to say that the unadorned lightbulb, hanging from the ceiling casting harsh light is not a pretty picture. Memorable and stark, maybe, but not beautiful. We all want to suffuse our rooms with gracious lighting, but, lamps are expensive. There’s no doubt about it. Even when you go to purchase a light fixture at a discount store you can plunk down a lot of jingle. The one possible exception can be Goodwill or the Salvation Army, but, it’s often hard to find something that you want.

So, I have forayed into the “Land of Lighting” and stopped at the nexus of “self-reliance” to figure out and EASY and inexpensive way to make my own lamp.

I’m emphasizing EASY because I went in search of an attractive vessel that has a hole on both ends — because otherwise I would have to hollow out the middle from top to bottom. I can do that, but, BABY STEPS….

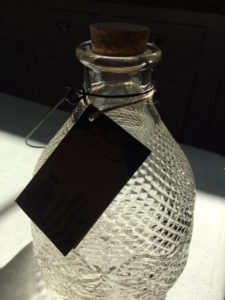
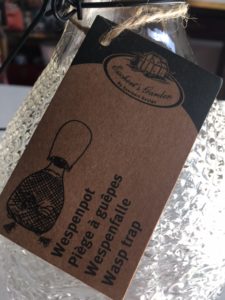
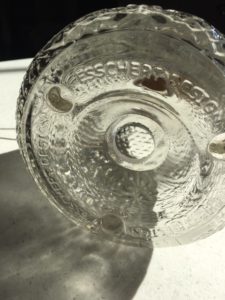
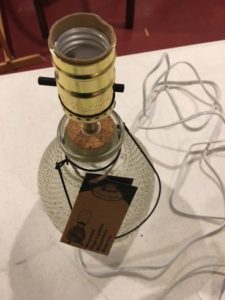
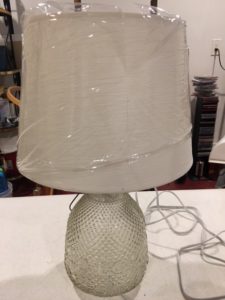
So, I found this glass wasp trap with a cork at the top. It’s PERFECT for a lamp! It’s a nice size, nice shape, has a hole in the bottom and has “feet” which lift it up from the surface.  This is important because otherwise I would have had to make base or some other accommodation for the cord.

Other ideas that I entertained were:


Vases

Flower Pots

Piggy Banks

Baskets (if the weave is large enough, you could slip the cord through…)

Wine Bottles (although you’d have to drill a hole through the glass)

But this wasp trap is a great place to start!


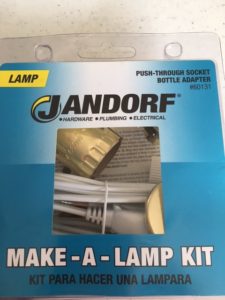
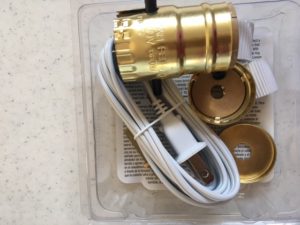
Next, I went to my local ACE Hardware and purchased this lamp kit.  I was THRILLED! They have done the heavy lifting for me! It really is sort of “Plug and Play.”

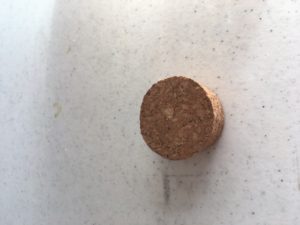
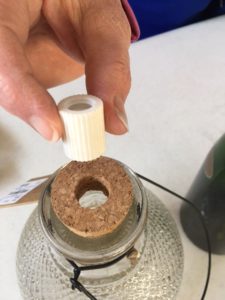
The cork in the opening of the wasp trap comes out easily and makes an excellent “base” for the neck of the lamp.


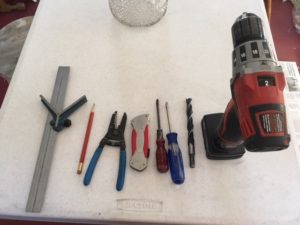
Here are the tools that I used:

A ruler

Pencil

Pliers

Knife

Philips head screwdriver

Regular screwdriver

Drill

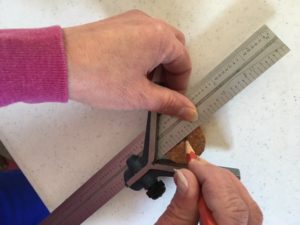
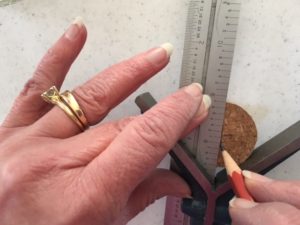
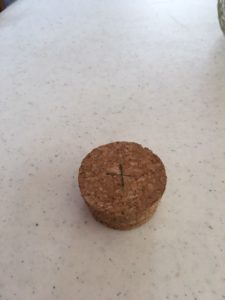
Use the ruler to find the center of the cork.


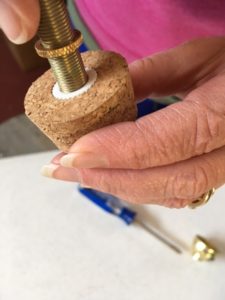
Open the lamp kit and find the post that will fit into the cork. Drill a hole a hole into the cork that will accommodate the post.

Put the post into the cork.

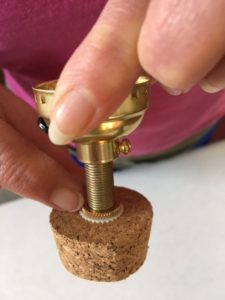
Put the neck into post, using the washer (found in the kit) to set the height of the neck.

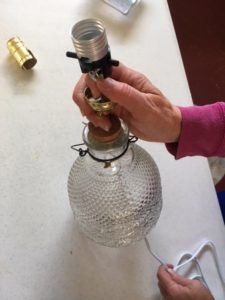
Screw in the socket.

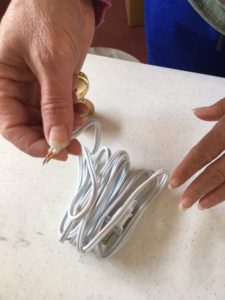
Take the cord and


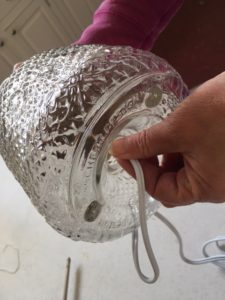
put it up through the hole in the bottom of the vessel.


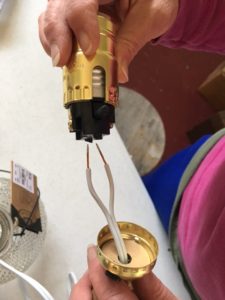
Pull it up through the neck of the lamp.

Pull the cord apart, so that it you have two wires.

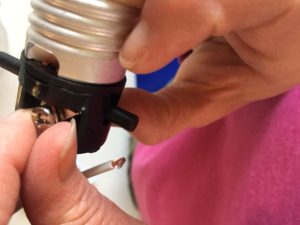
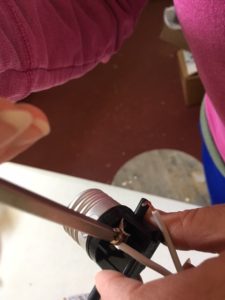
Wrap the wire around the screws on either side of the socket – going clockwise.

Using the Philips Head Screwdriver, tighten them firmly (but don’t overtighten) going clockwise.

Put the cap onto the socket. It will “click” in.

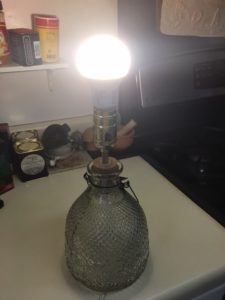
Screw in the light bulb and you have MAGIC!!!!

Shades….Another story!

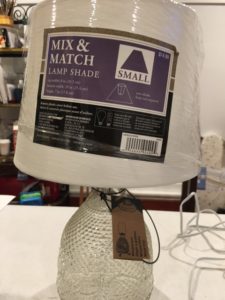
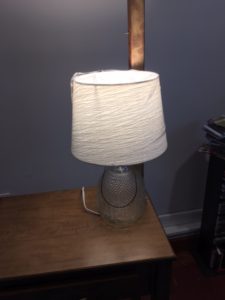
I did a little research and basically, you should match the shape of the shade to the shape of the base. And, in terms of sizing, your shade should be about 2/3 the size of your base. The shade that I chose might be a little big, for the base, but, I still think it looks nice with the patterned glass.

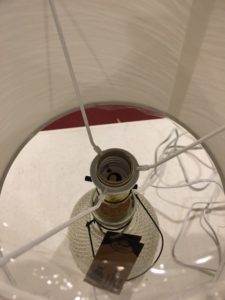
When it came to attaching the shade, I opted for EASY again. This shade, which I purchased at Bed, Bath and Beyond, just screws onto the socket. Easy Peasy, Lemon-Squeezy!

Eh-VOILA!!! LET THERE BE LIGHT!!!